In October 2020 Adobe Photoshop added new “Neural Filters” that use AI to alter or improve photos. While it may not be the fanciest of the group, JPEG Artifacts Removal has become essential in my daily workflow. Pixelation is a big problem when clients send me image files. Pixelation is essentially blurriness that can be caused by multiple factors. When I’m designing a website, or adding content to a website, I want to use crisp, clear images. Photoshop’s JPEG Artifacts Removal Neural Filter is unbelievable at cleaning up any pixelation or blurriness in photos.
To use the JPEG Artifacts Removal tool follow these simple steps:
- Open an image file
- In the top menu go to Filter -> Neural Filters…
- You’ll see JPEG Artifacts Removal under FEATURED. Slide the toggle to activate the filter.
- I prefer to set the strength to High and the Output to Current Layer so I don’t have additional layers to worry about. Click OK and that’s it!
A client sent me the image below and I immediately noticed the pixelation. The next image was after applying the JPEG Artifacts Removal tool.
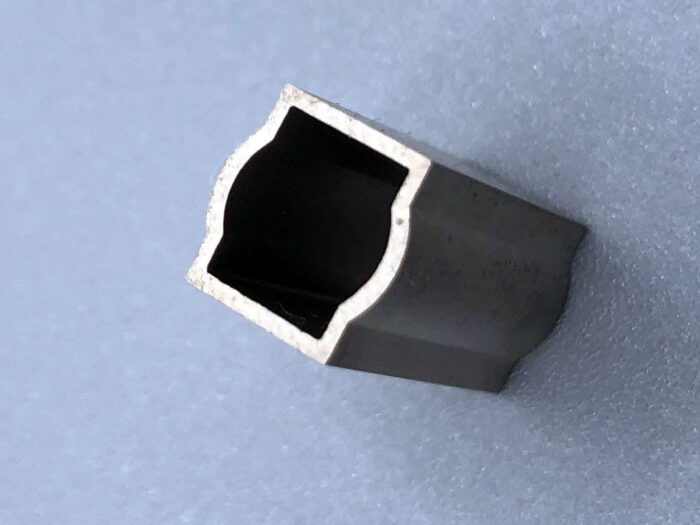
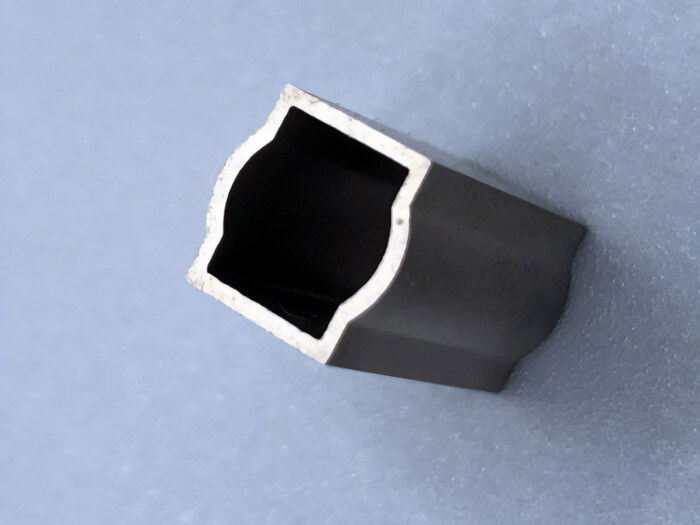
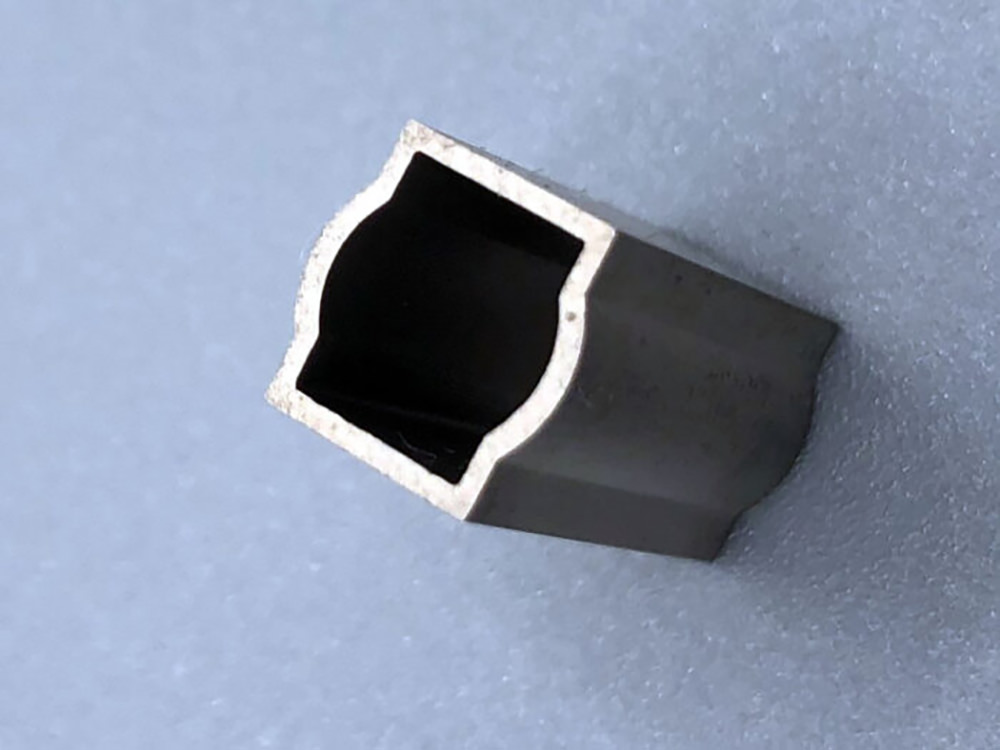
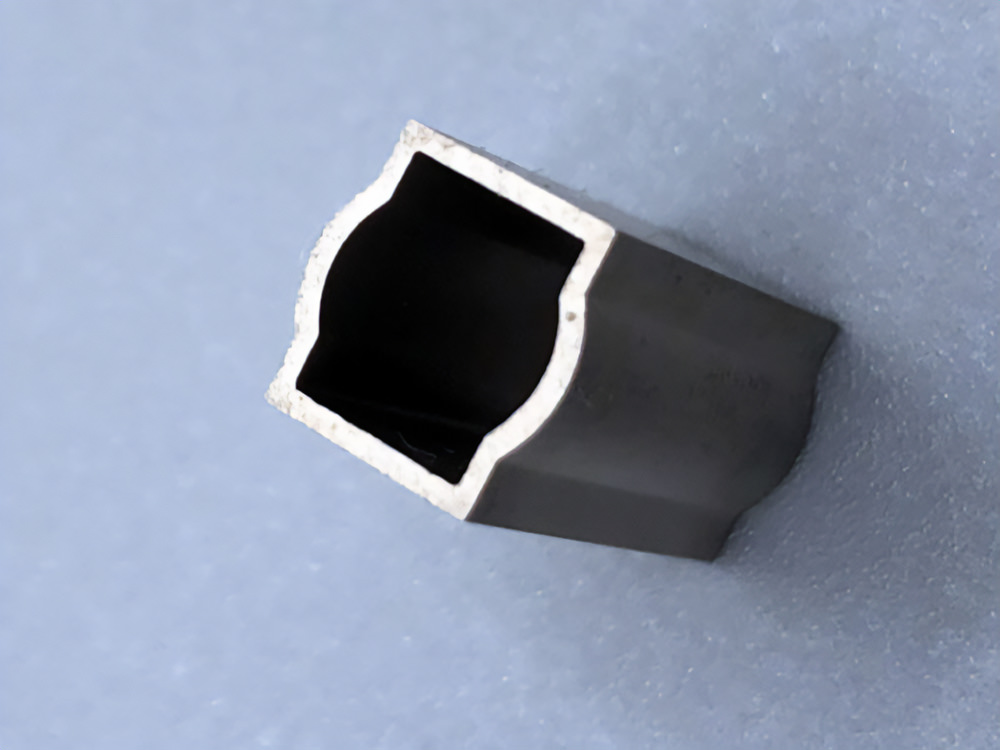
Not bad for a couple of clicks! Now let’s say I need the image to be larger than it was sent to me. Enlarging photos definitely creates pixelation and is always an issue. The below images we enlarged from 700×525 pixels to 1000×750 pixels. I took the original pixelated photo and enlarged it, creating more pixelation! After the JPEG Artifacts removal tool was applied there was a tremendous improvement.
Definitely check out these Neural Filters. In addition to JPEG Artifacts Removal, there are tools to smooth skin in photos, add smiles to faces, decrease “facial age”, increase hair thickness, colorize black and white photos, and a ton of other cool tools. If you need any website or graphic design assistance contact me today. I’d love to help you out.
